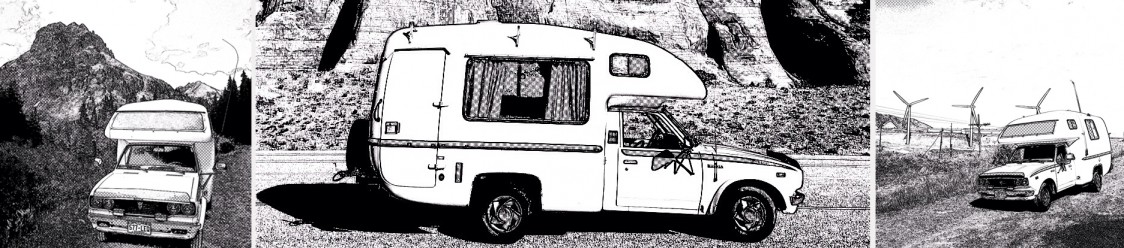
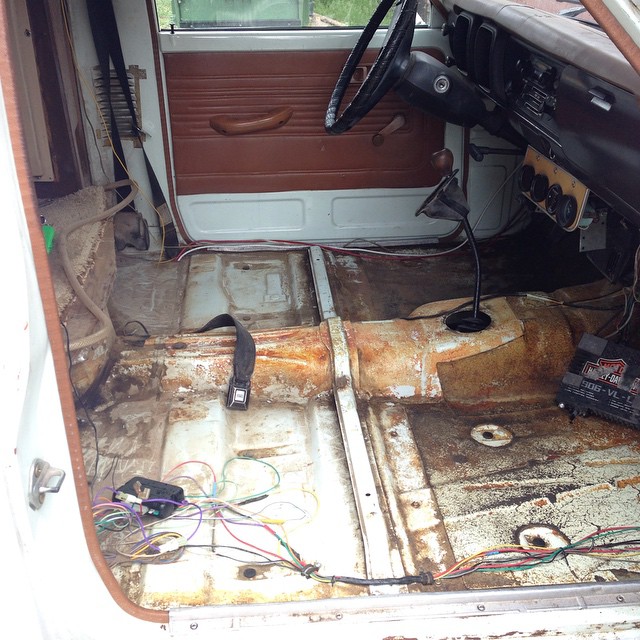
One of the home improvements I have been dreaming about for some time is to upgrade the carpet in the cab. I didn’t take any before pictures of what the carpet looked like, but “nasty” seems to be the proper adjective to sum it up. Shout out to my Godmother Betty for ordering me the replacement carpet for my birthday!
The first thing I did was tear out the old nasty carpet. I found out that there was a lot of nastiness caked onto the metal that had to be chipped off. The picture is many hours into scraping off the old insulating layer.
Here’s what is means to be a perfectionist:
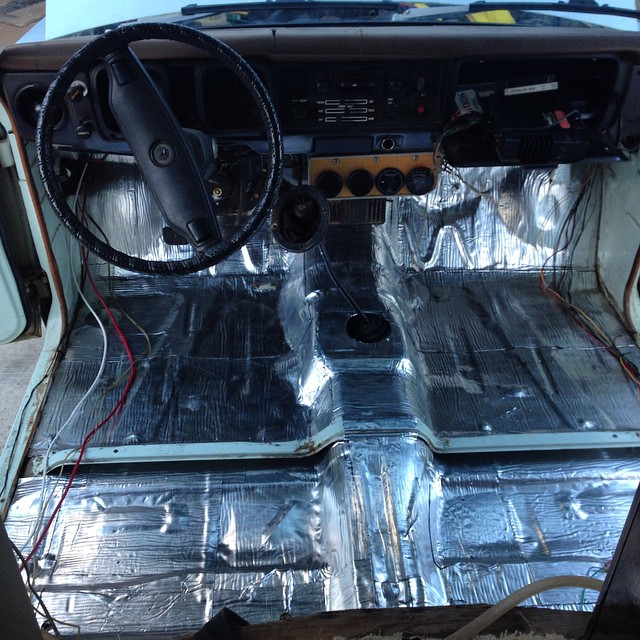
Next thing we did was add in sound deadener. The idea is to reduce noise and heat loss as well as keep out fumes from the engine. There was some debate on a the Toyota camper forum post that I put up whether or not it was worth the time and money (being that the camper will always be pretty noisy), but I have experienced a pretty big difference in noise since this upgrade.
Dynamat is the fancy stuff. I did some research and found B-Quiet Ultimate (http://www.b-quiet.com/products/b-quiet-ultimate-50sqft) to be pretty similar for a fraction of the price. I ordered 50 square feet and had plenty of extra.
The next step was the carpet. I ordered the custom molded carpet from Stock Interiors (http://www.stockinteriors.com/AutoCarpet.asp?Itemid=3985&MakeId=37&ModelId=484). I went with the Medium Doeskin color with the mass backing.
This is where I ran into some issues. They only had molds for the Toyota Truck years 77′-83′. My camper is 77′ but the camper company actually bought 76′ Toyota cabs and then added the camper and sold them in 77′. Needless to say I had a lot of really aggravating trimming and fudging. In the end I got it all to fit, I just had to get creative. I also picked up weatherstripping from an 80’s model Toyota pickup at a junkyard which worked great for covering up the edges of the carpet by the doors.
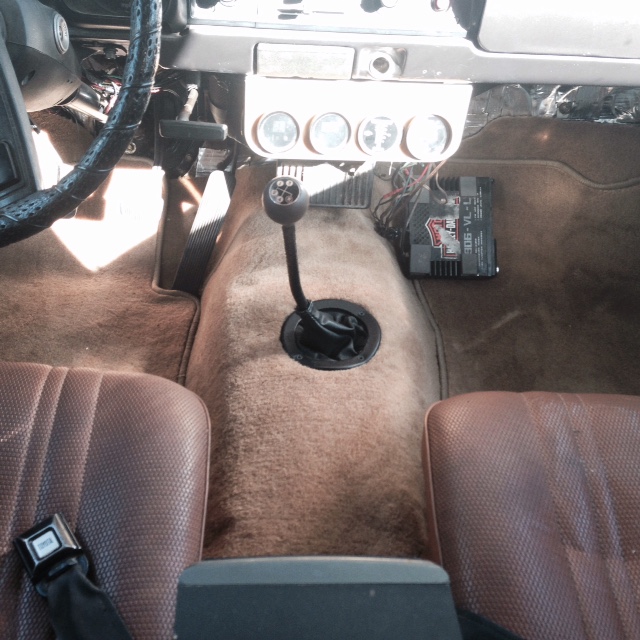
It was a slow going project and left me with a few more gray hairs… But the final product looks great!
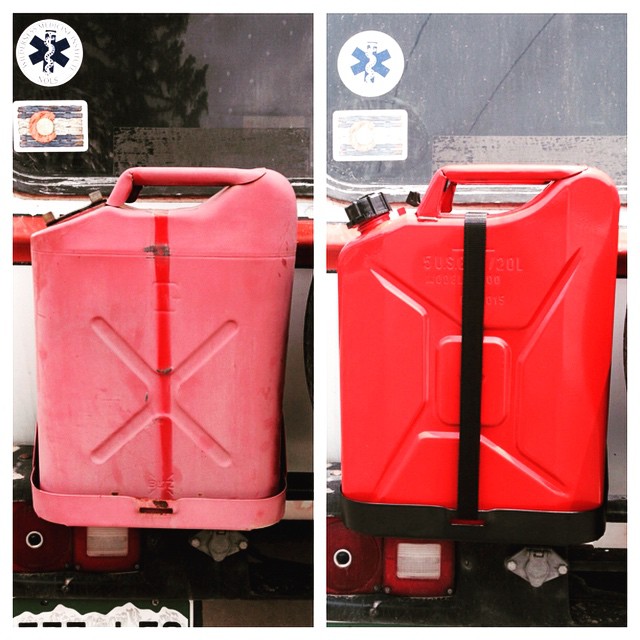
Here’s a few more little upgrades: New gas can:
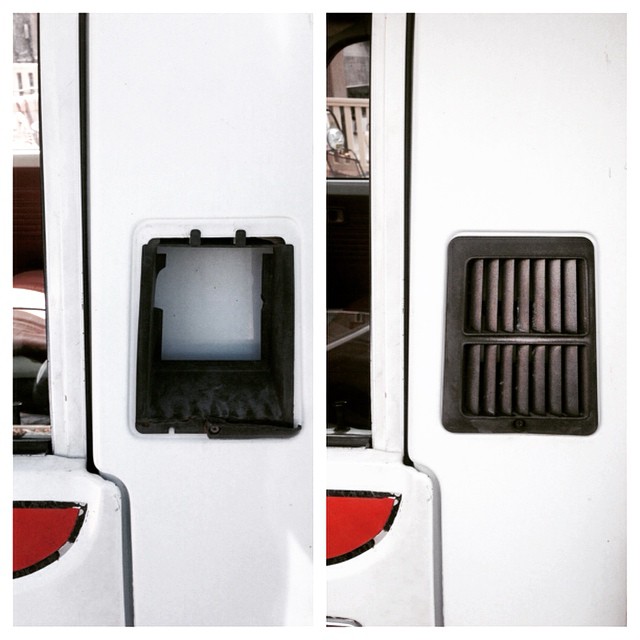
Small fix on the broken vent/grate thingy:
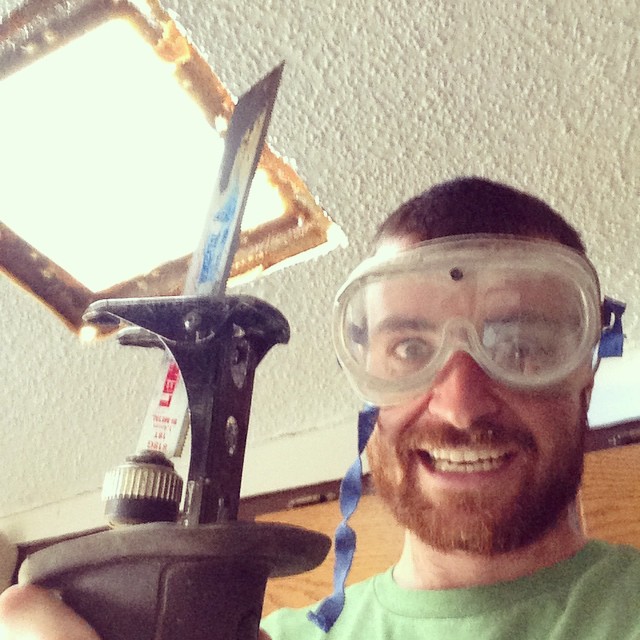
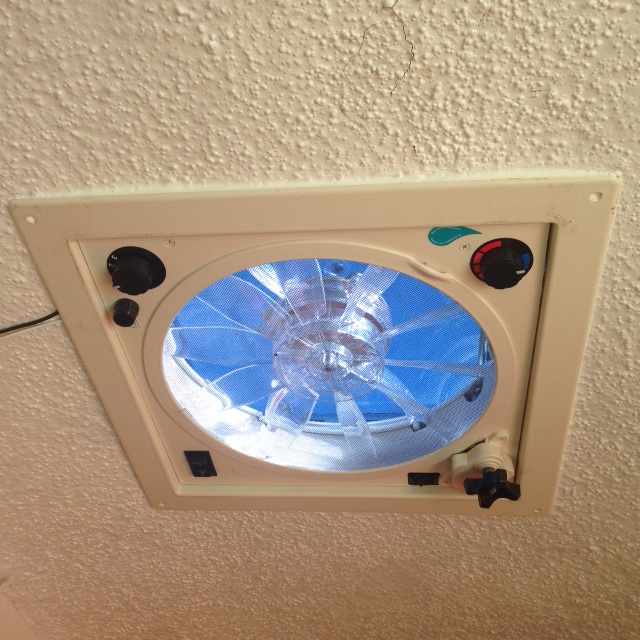
Installed a Fan-tastic vent (game changer for the hot summer days):
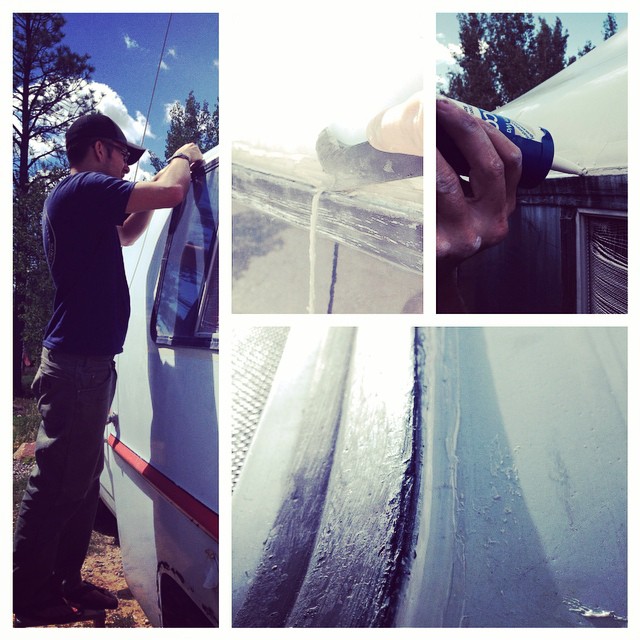
Recaulking all of the windows to prevent leaks:
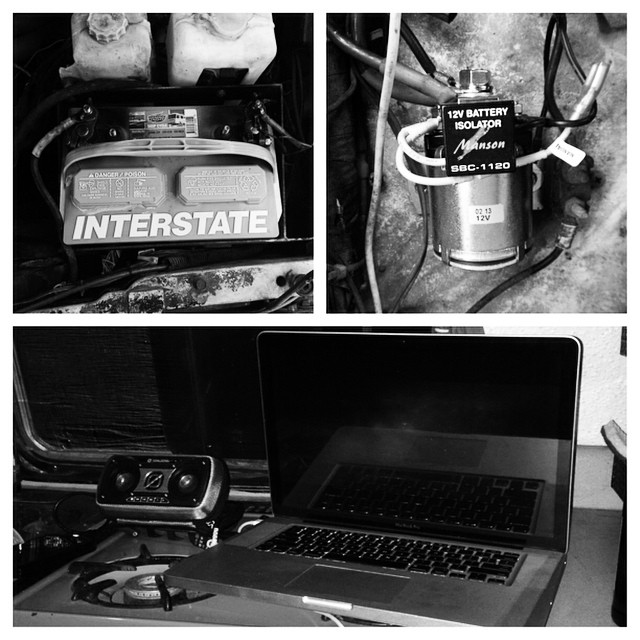
Replaced the isolator, bought a new deep cycle house battery, and a 350 watt inverter to power the camper:
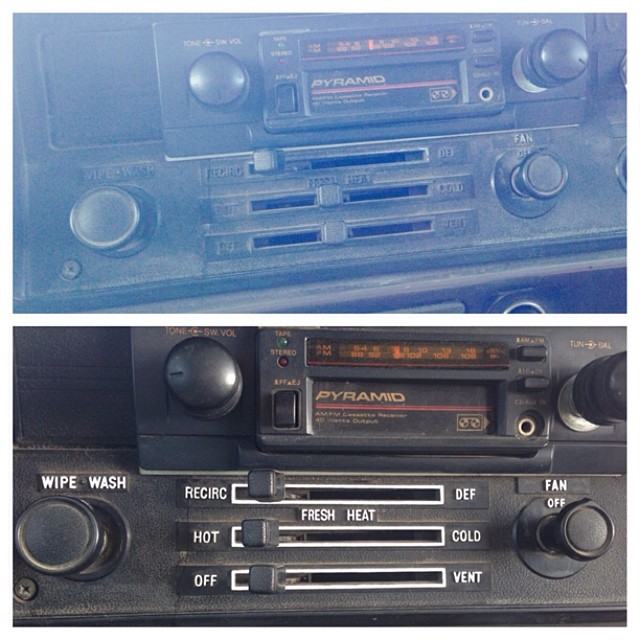
Got $1 of white acrylic paint and a $1 paintbrush from Walmart to spice up the dash:
Let’s see… I also fixed leaks in the propane so the stove works, fixed some funky wiring that was making it so my right turn signal wasn’t working, removed the CB radio and huge antenna as well as a bunch of random brackets that used to be part of an awning and filled all the holes that that formed, and much more!
Next on the list is an upgrade to the radio head unit and sound system. The projects never end!
